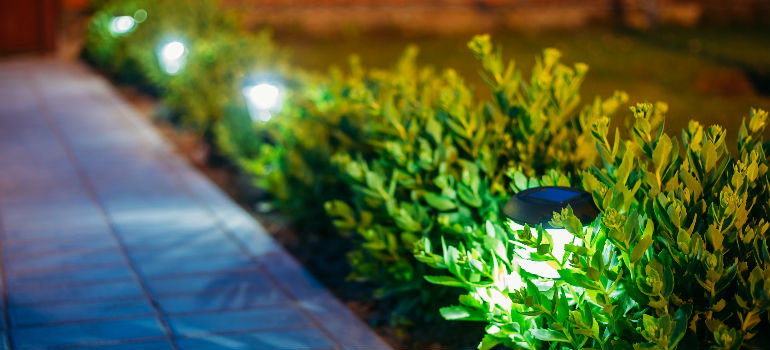
Outdoor garden lighting can give your garden the most beautiful glow at night. But, to install garden lighting, you would need to know how to handle electrical wiring and this isn’t a job for anybody.
The Fantastic Handyman team can offer a great deal on outdoor lighting installation. But if you are determined to do the project yourself, proceed with the following steps.
Table of Contents
Tools You Need
- Outdoor lighting package;
- Spade;
- Mattock;
- Outlet box;
- Spray paint;
- 4-in-1 screwdriver;
- Adjustable wrench;
- Non-contact voltage tester;
- Wire stripper/cutter;
- Trenching shovel;
- Underground feeder cable.
Plan Your Outdoor Garden Lighting
You’ll need about a day to finish this entire project, so don’t take it lightly. First, you should mark where exactly you would want each lighting unit to be in your outdoor space. Use spray paint to mark their positions.
Next, dig a trench connecting each point. It’s where your wire will be buried after you install the lighting posts. Bear in mind that the wire needs to be connected to an existing power supply. That outlet must be GFCI-protected. Also, make sure that this outlet doesn’t overload the circuit you tie into, and that the box is big enough to handle the additional wire.
Note that outdoor lighting installation is classed as a notifiable electrical work under the Part P of the Building Regulations, so contact your local council before proceeding any further.
Need a Handyman?
Enter your postcode to view our rates and availability in your area.
For questions about the services we offer visit our main site or you can always call us at 020 3404 4045
How to Install Landscape Path Lighting
Installing your outdoor lighting would require quite a bit of electrical knowledge. This is why Fantastic Handyman does not recommend for non-professionals to attempt such tasks by themselves. So, if you feel confident in your electrical skills, this is how the rest of the project should go.
- Assemble lighting fixtures. Unbox your landscape lighting package and follow the instructions on how to assemble the fixtures. Add light bulbs and check if they all work. Of course, replace any faulty ones.
- Place fixtures on their respective locations. According to your previous planning, place the separate lighting units on the spots you have marked. Bear in mind that you might want to change their locations later, so it’s a good idea not to drive the stakes fully into the ground.
- Connect fixture wires to a power source. Use direct burial connectors or hubs to connect each landscape lighting fixture to the cable. You can choose to use a hub system to centralise cable splices in each fixture region, so you can handle potential troubleshooting much more easily.
- Check if all the lights are working. Use a voltmeter to ensure that all lighting units are within the 9-15v range. For halogen lamps, the range is 10v to 12v. If you find voltages lower than the minimum, connect that home run to a higher voltage tap so the resulting voltage is within the range.
- Bury wires. Once you make sure everything is working properly, you can finally take care of the trenches you dug between the lighting bodies.
- Evaluate at night. You can do your project during the day, but you can’t be certain until night falls and you can see your finished project. You can adjust most lighting fixtures, so you can aim the light at the exact patch of landscape you want illuminated to achieve maximum aesthetics.
This is a rough guide on how to complete your outdoor lighting installation project. Still, one needs to have adequate electrical and carpentry knowledge to do the job on their own. For everyone else, experienced professionals can take this hard work off your hands.
Check also:
[Quiz] Should I be an Electrician?
How to Instal a Dimmer Switch
How to Instal, Wire and Connect Your Electric Cooker
Image source: Grisha Bruev/shutterstock.com


Thanks for writing and explaining us how to manage the landscape path lights. Please keep sharing such nice information.
This is a great post. In Addition, let me add something . Use a long steel punch to bore a hole in the ground, lightly tap the stake into the hole with a small sledge or a mallet, and replace the soil or gravel around the fixture. Repeat with each lamp.
Landscape lighting looks really great. It enhance the beauty of plants and flowers in your yard. Thanks for giving your expert tips on landscape path lighting.
I followed the advice from the articles and my yard is now fantastically lit. Thanks!
Love the idea. Practical, nice article. Thank you.